

Connect Home Assistant with HACS Official
When complete, Home Assistant appears in seenzus as a connected source and syncs devices and state.
Flow: Install HACS → Install Bridge → Authorize pairing → Return to seenzus
Step 1: Install HACS Official
Section titled “Step 1: Install HACS Official”Open Integrations and search for HACS
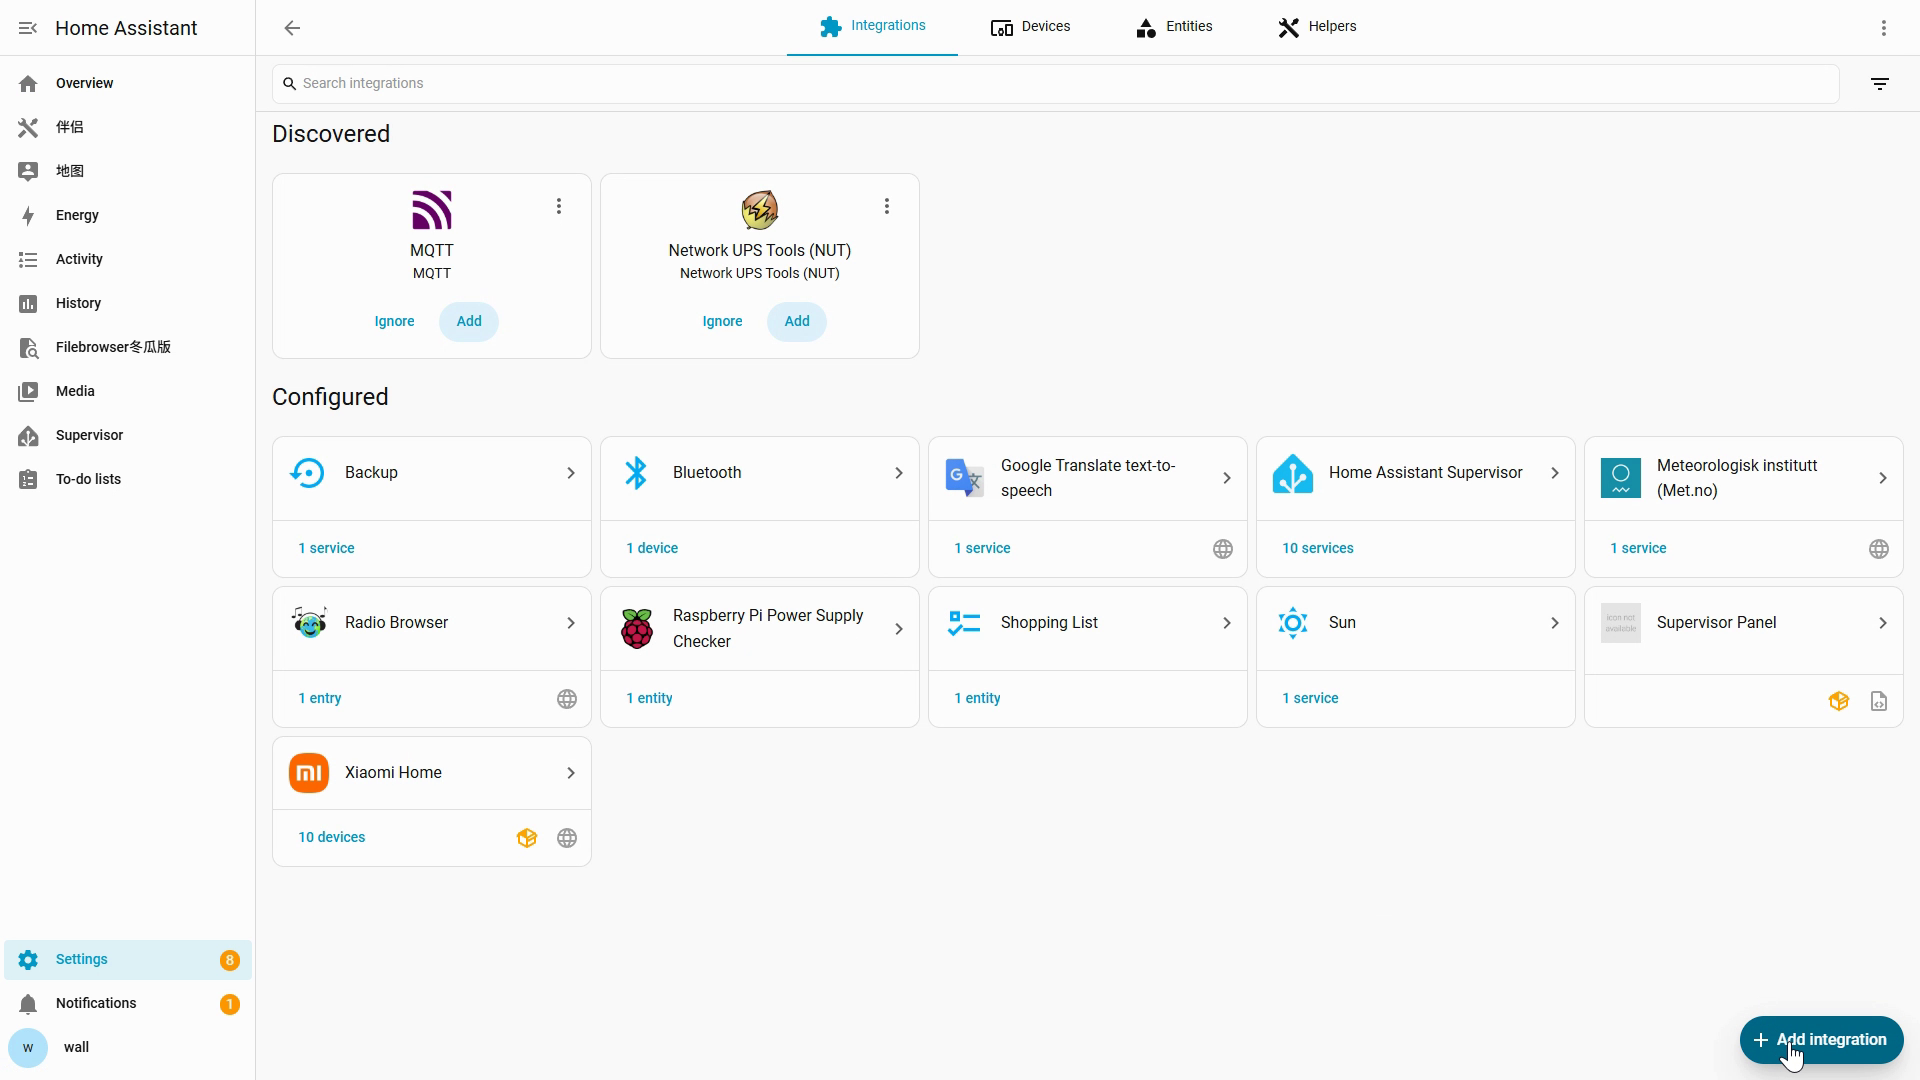
Confirm the installation options
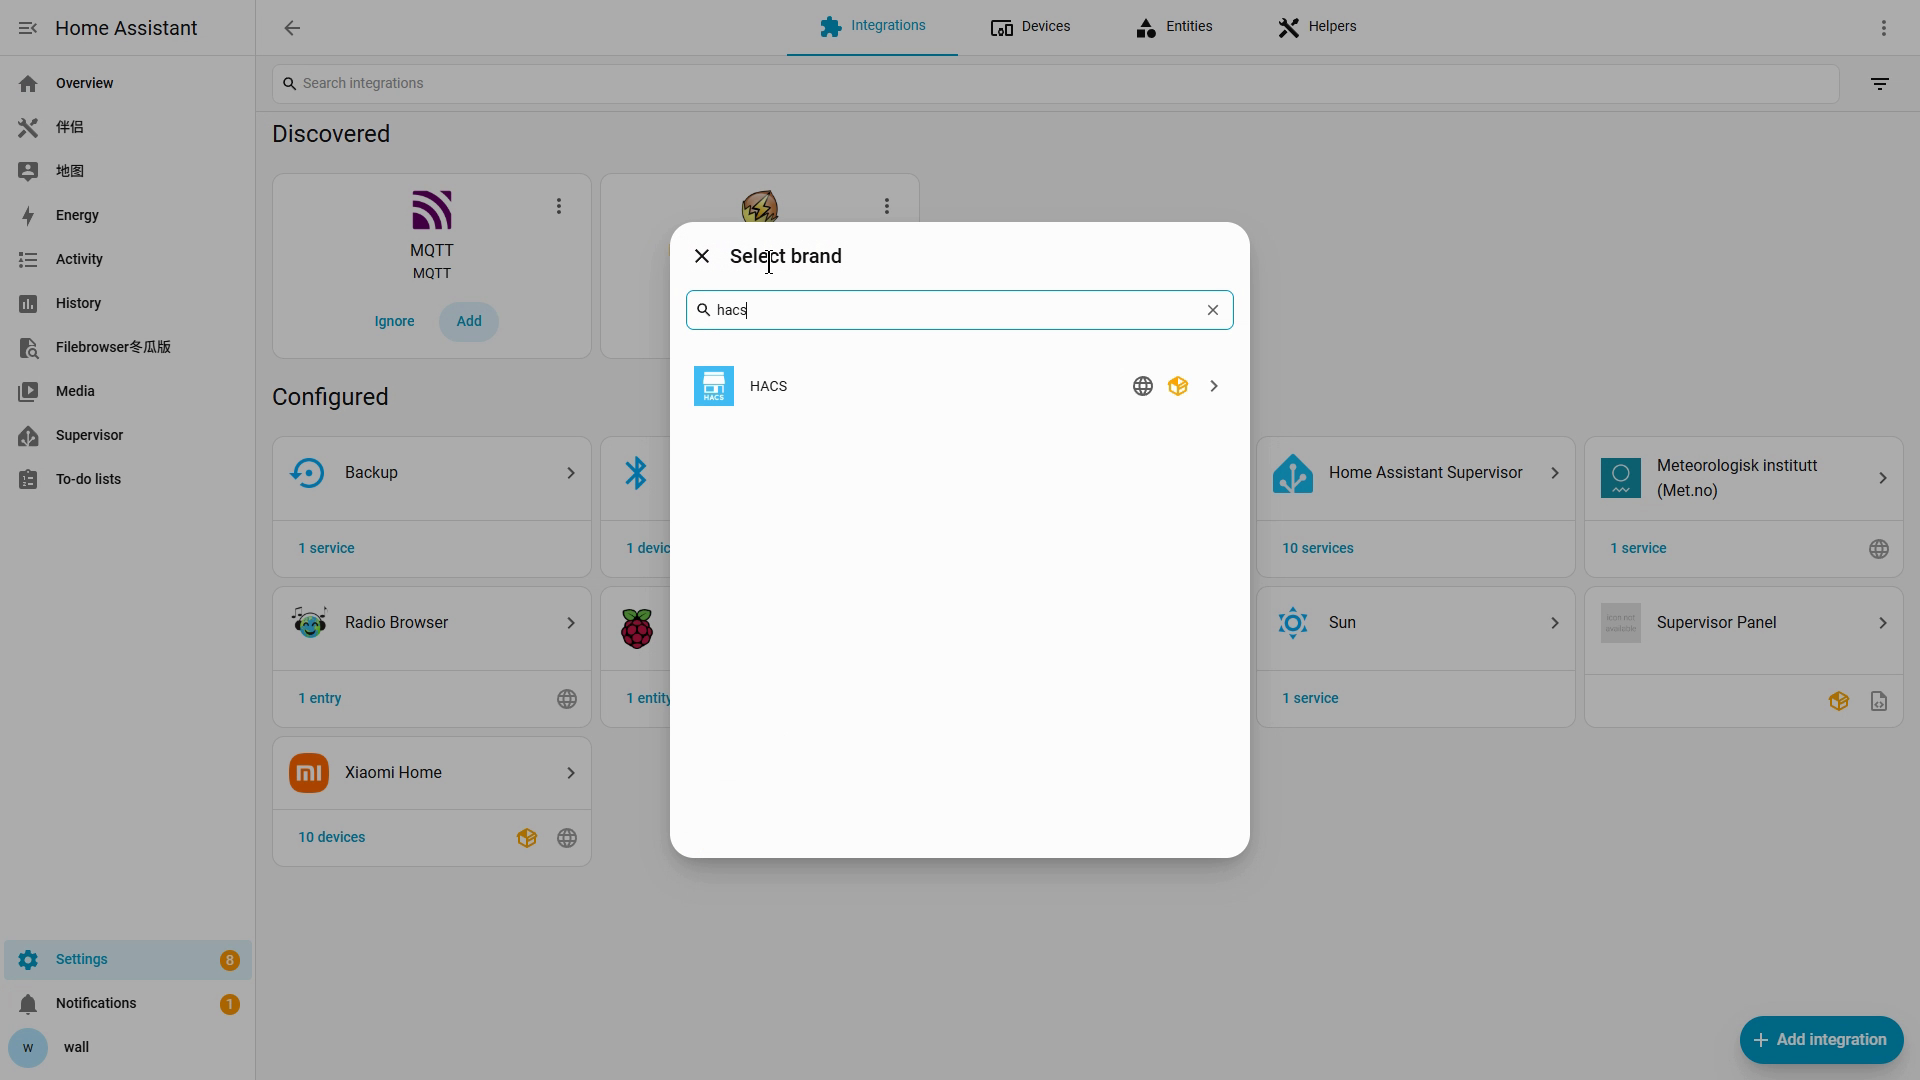
Sign in to GitHub and enter the verification code
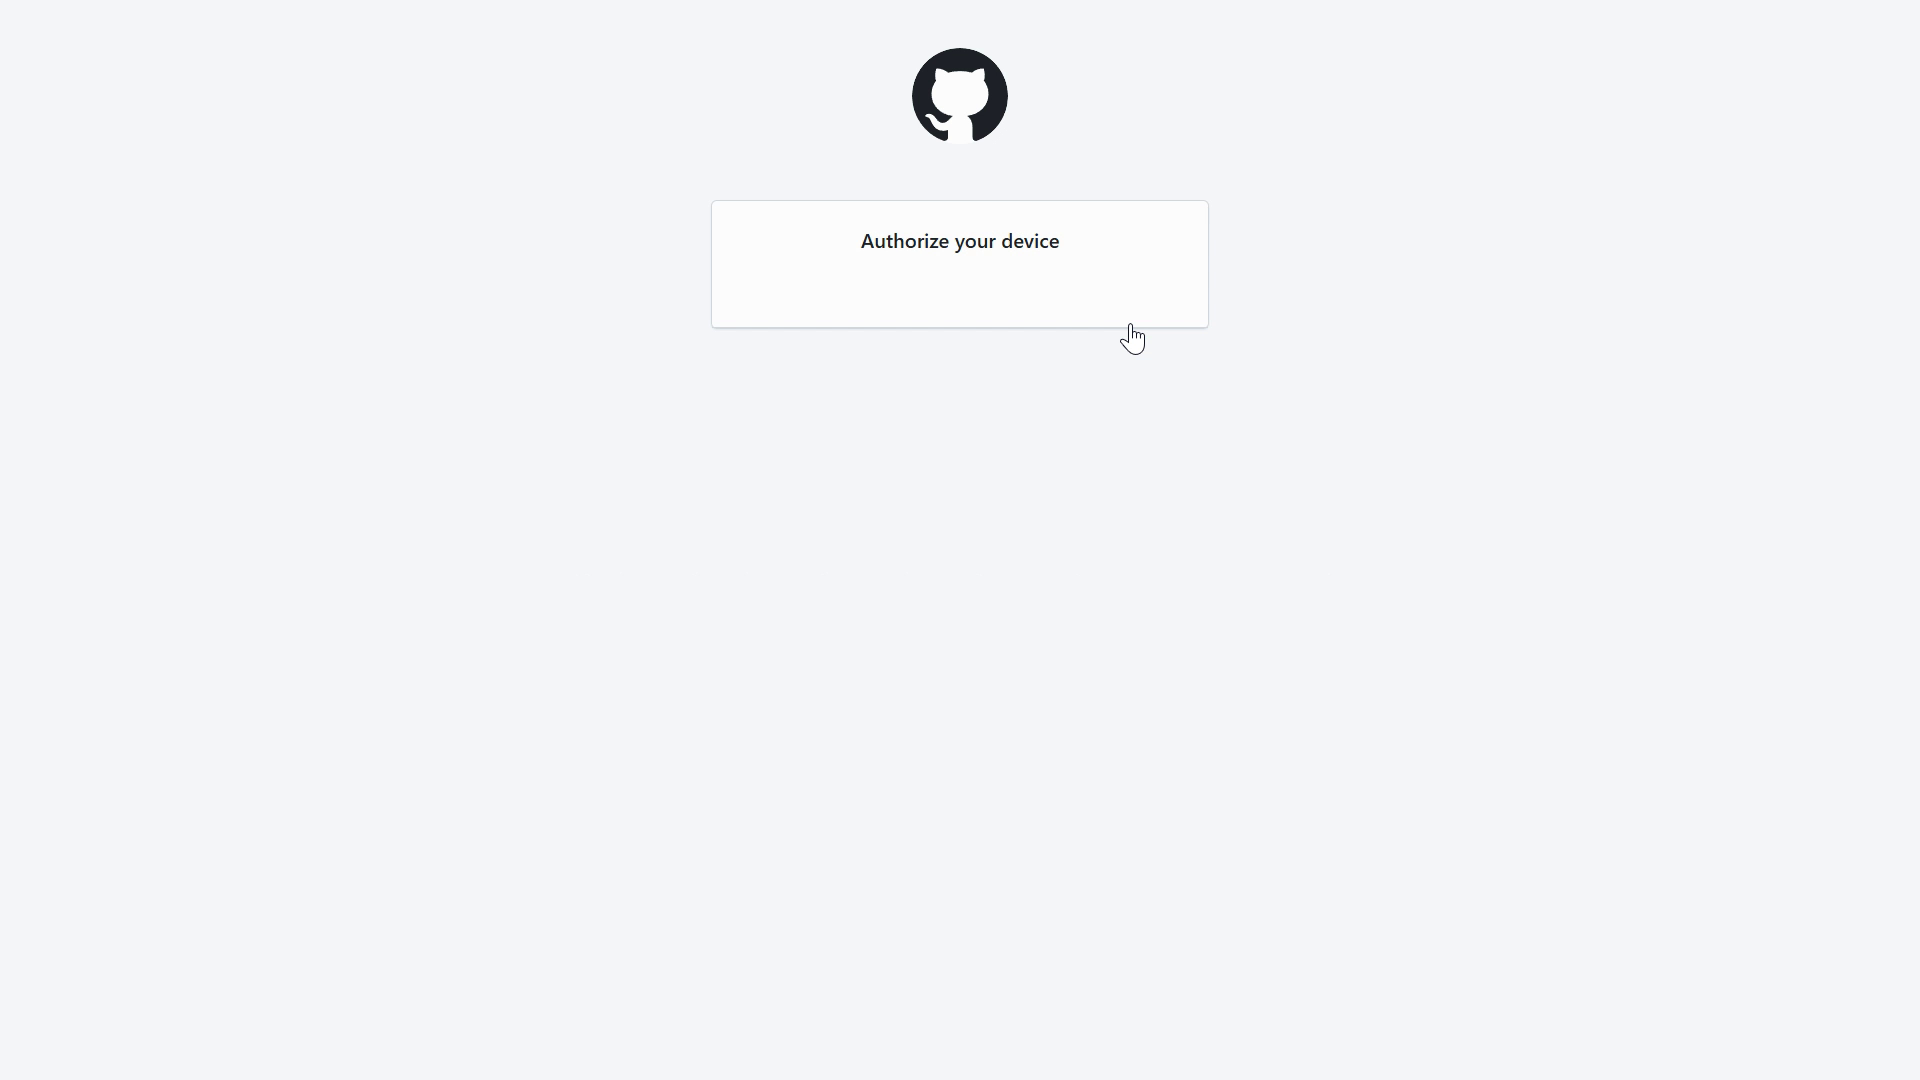
Return to Home Assistant to finish setup
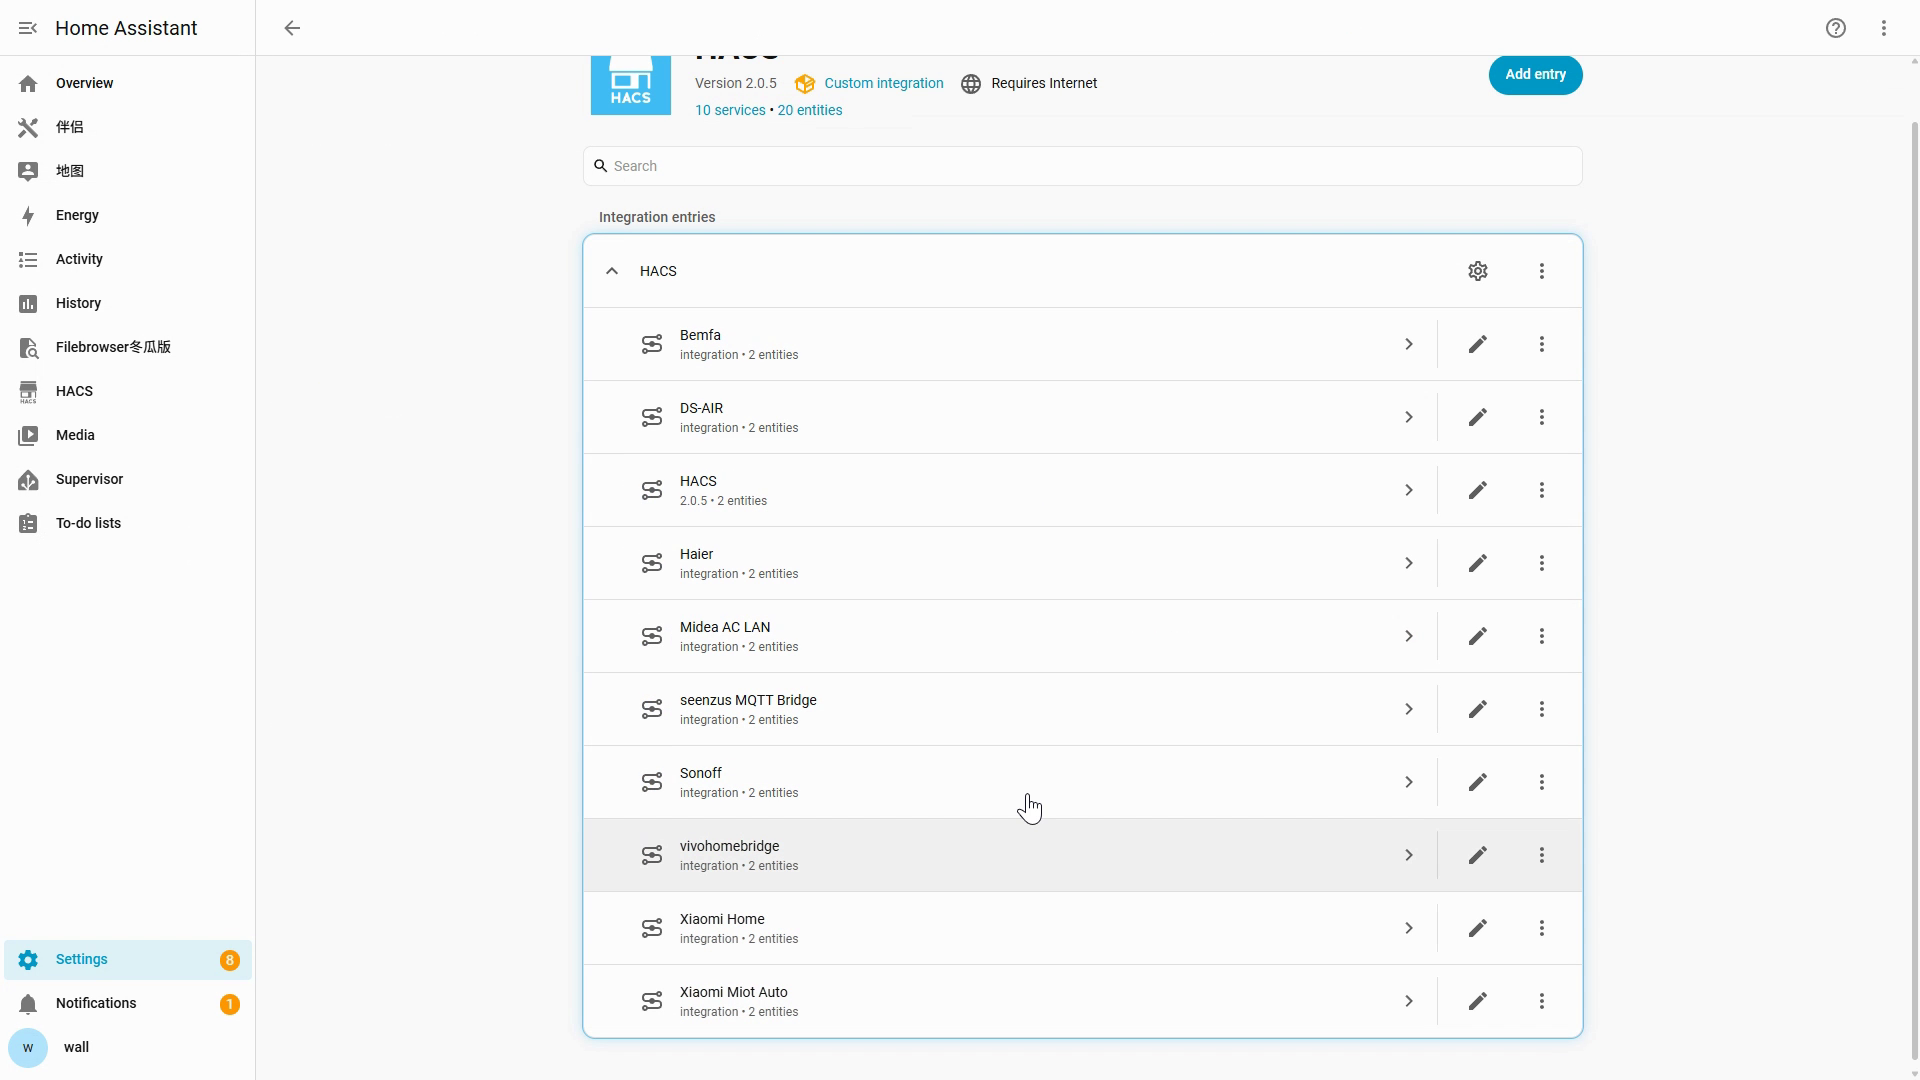
When complete, HACS appears in the Home Assistant sidebar.
Step 2: Install seenzus MQTT Bridge and complete pairing
Section titled “Step 2: Install seenzus MQTT Bridge and complete pairing”Copy this one-click URL and open it in your browser:
http://homeassistant.local:8123/_my_redirect/hacs_repository?owner=walllbf&repository=seenzus-mqtt-bridge&category=integrationOnly replace homeassistant.local with the HA IP if the default address does not open.
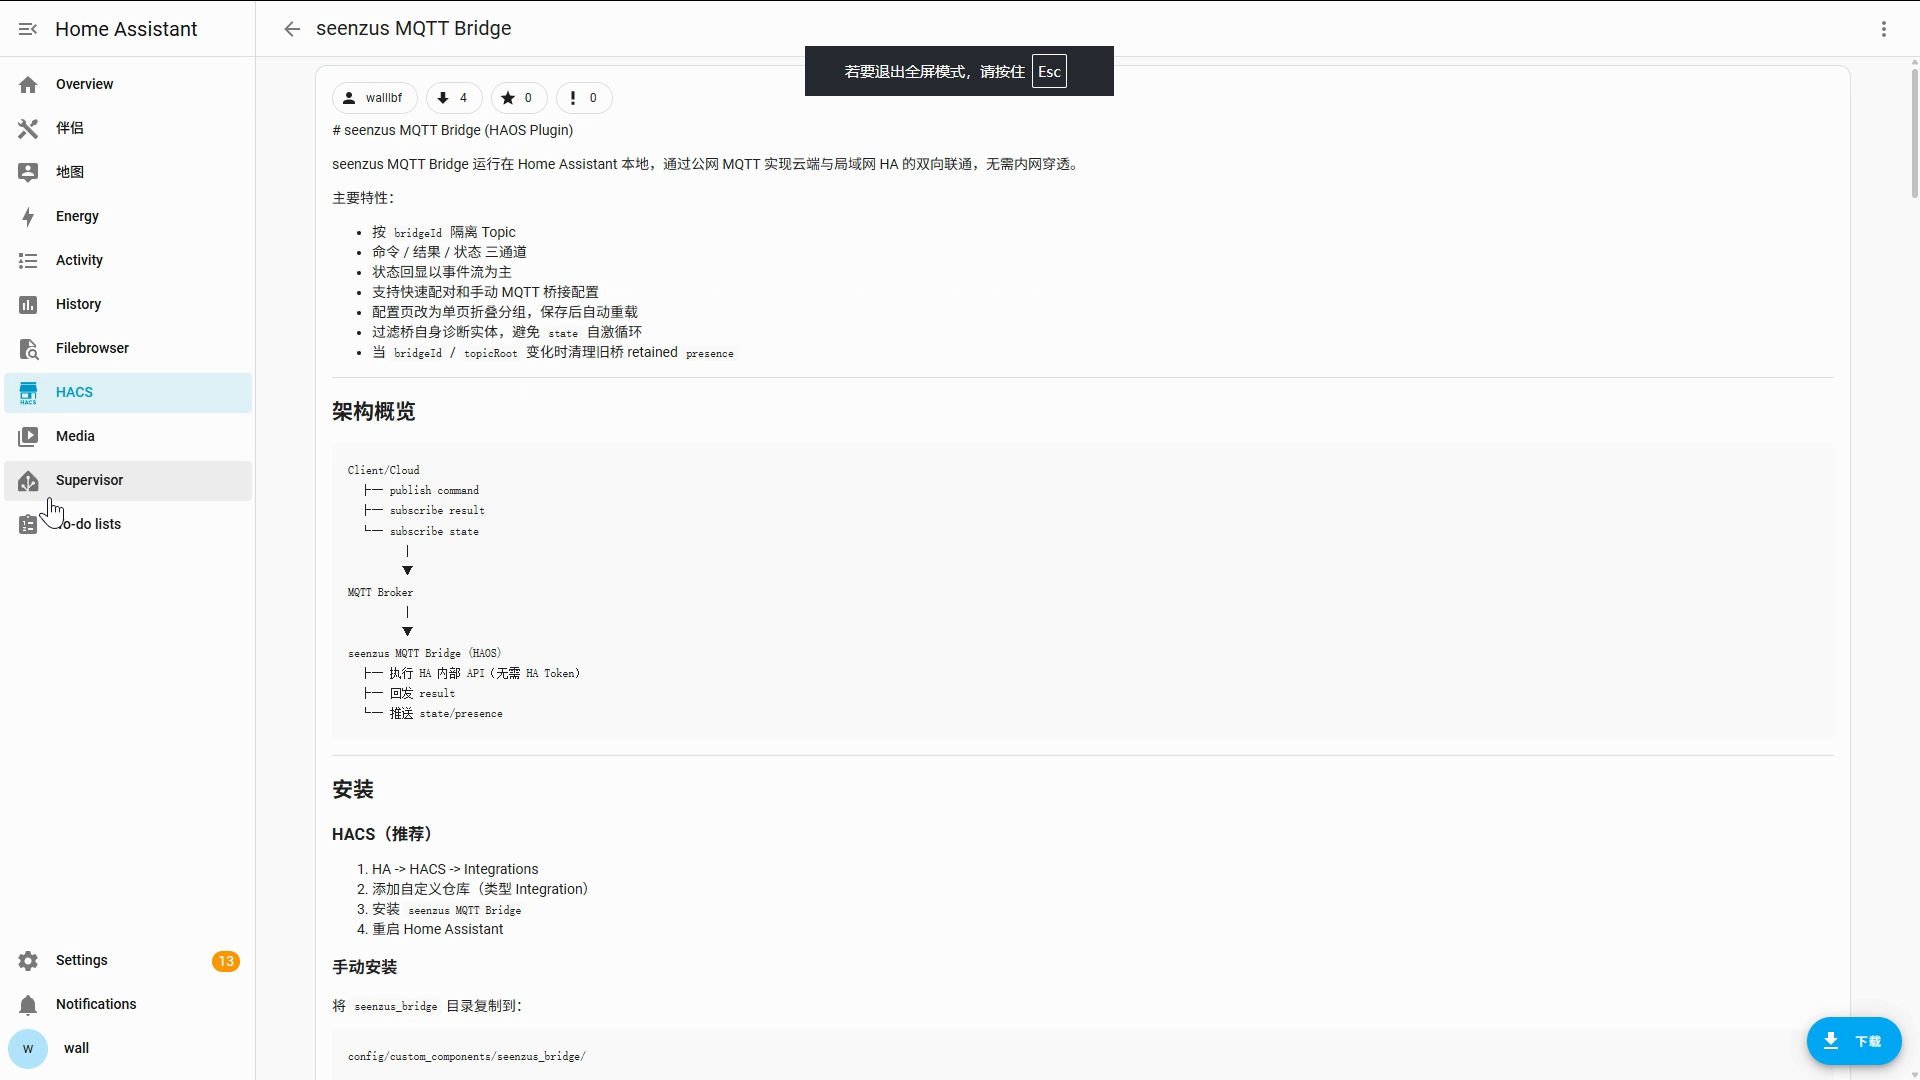
Open the one-click URL and confirm the repository
Open the URL above → Add → open HACS → Integrations → seenzus MQTT Bridge
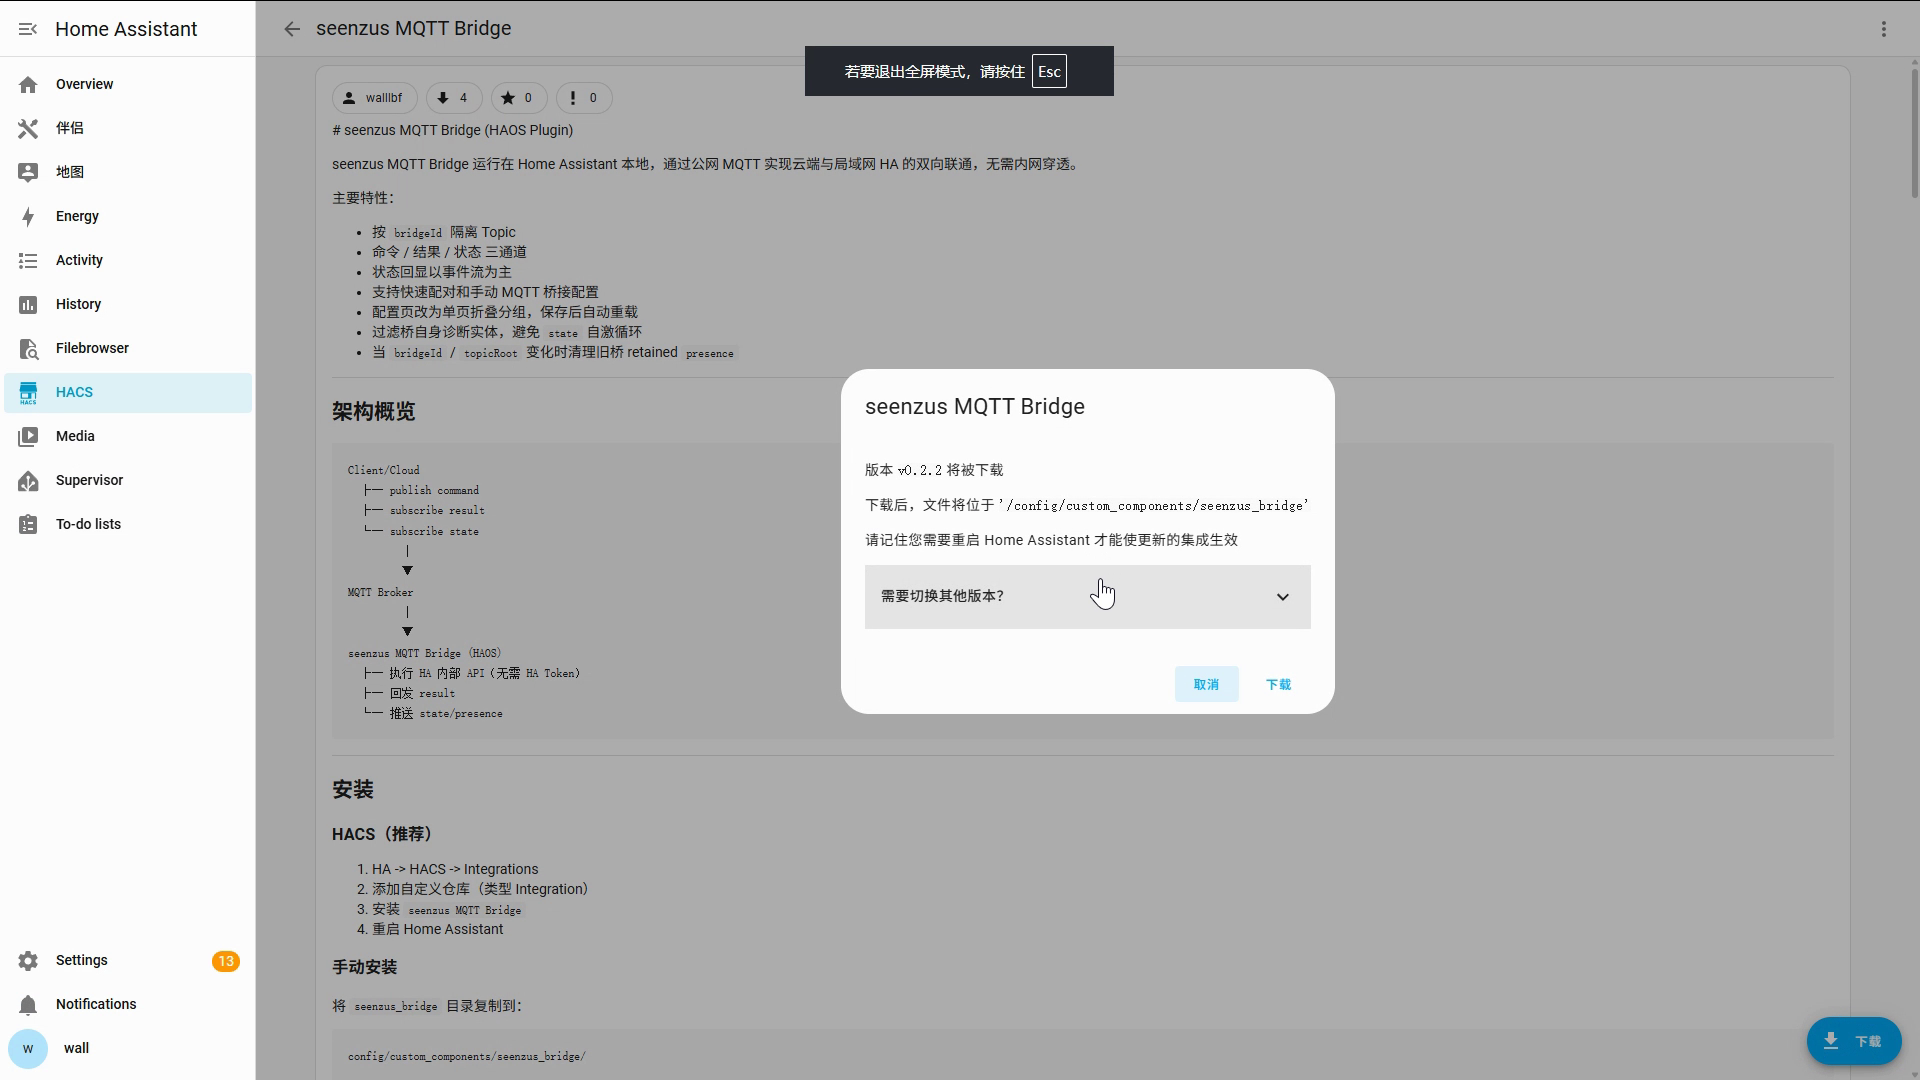
Download Bridge, then restart Home Assistant
Download → keep the defaults → Download → Settings → System → power menu → Restart Home Assistant
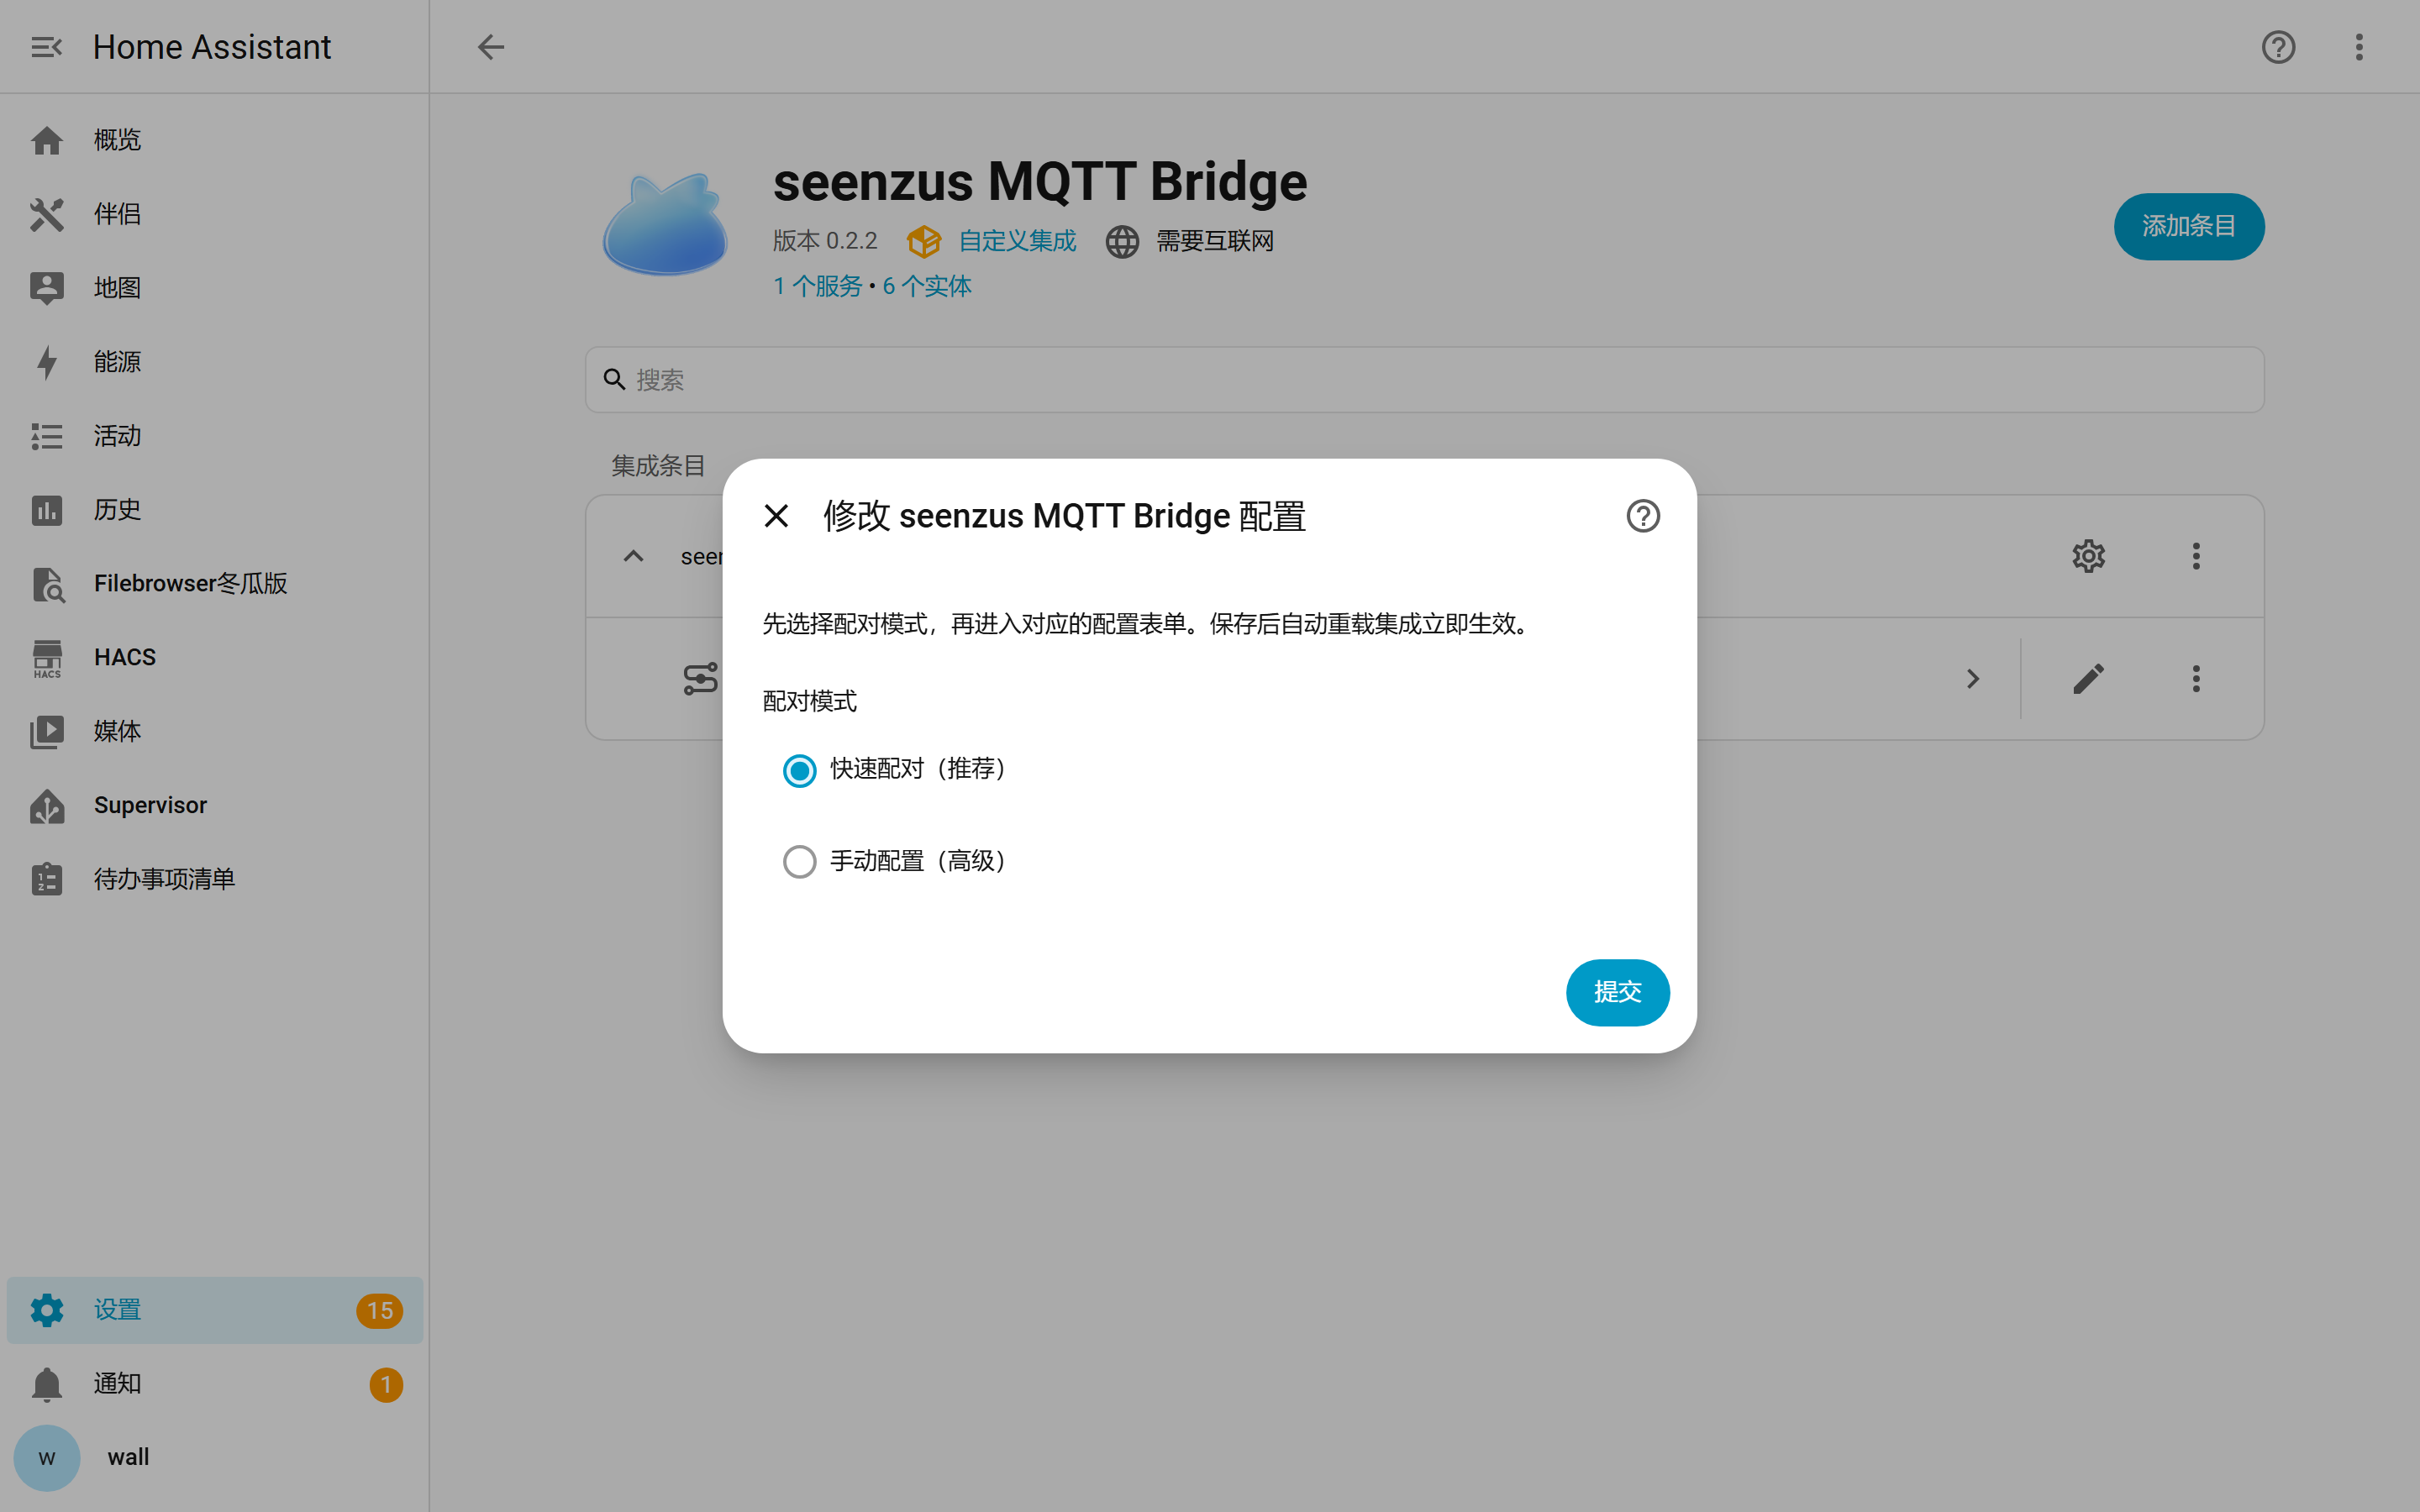
Choose Quick Pair in Home Assistant
Settings → Devices & services → Add integration → seenzus MQTT Bridge → Quick Pair → Submit
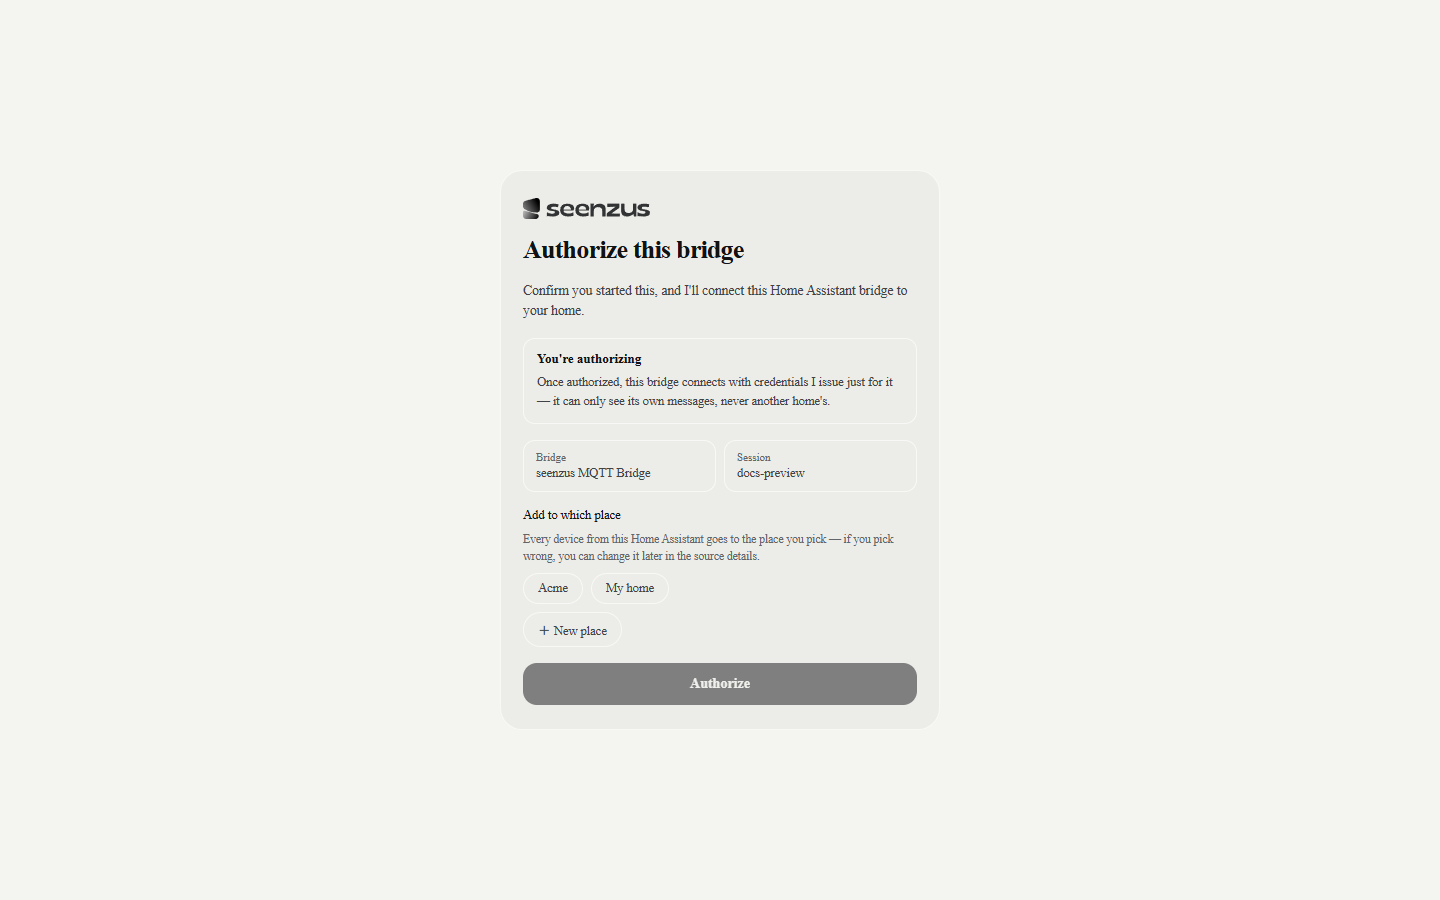
Approve access in seenzus
Choose a location → choose a place type → Confirm authorization
Return to seenzus from Home Assistant
First pairing
Home Assistant opens automatically after authorization → select Return to seenzus app
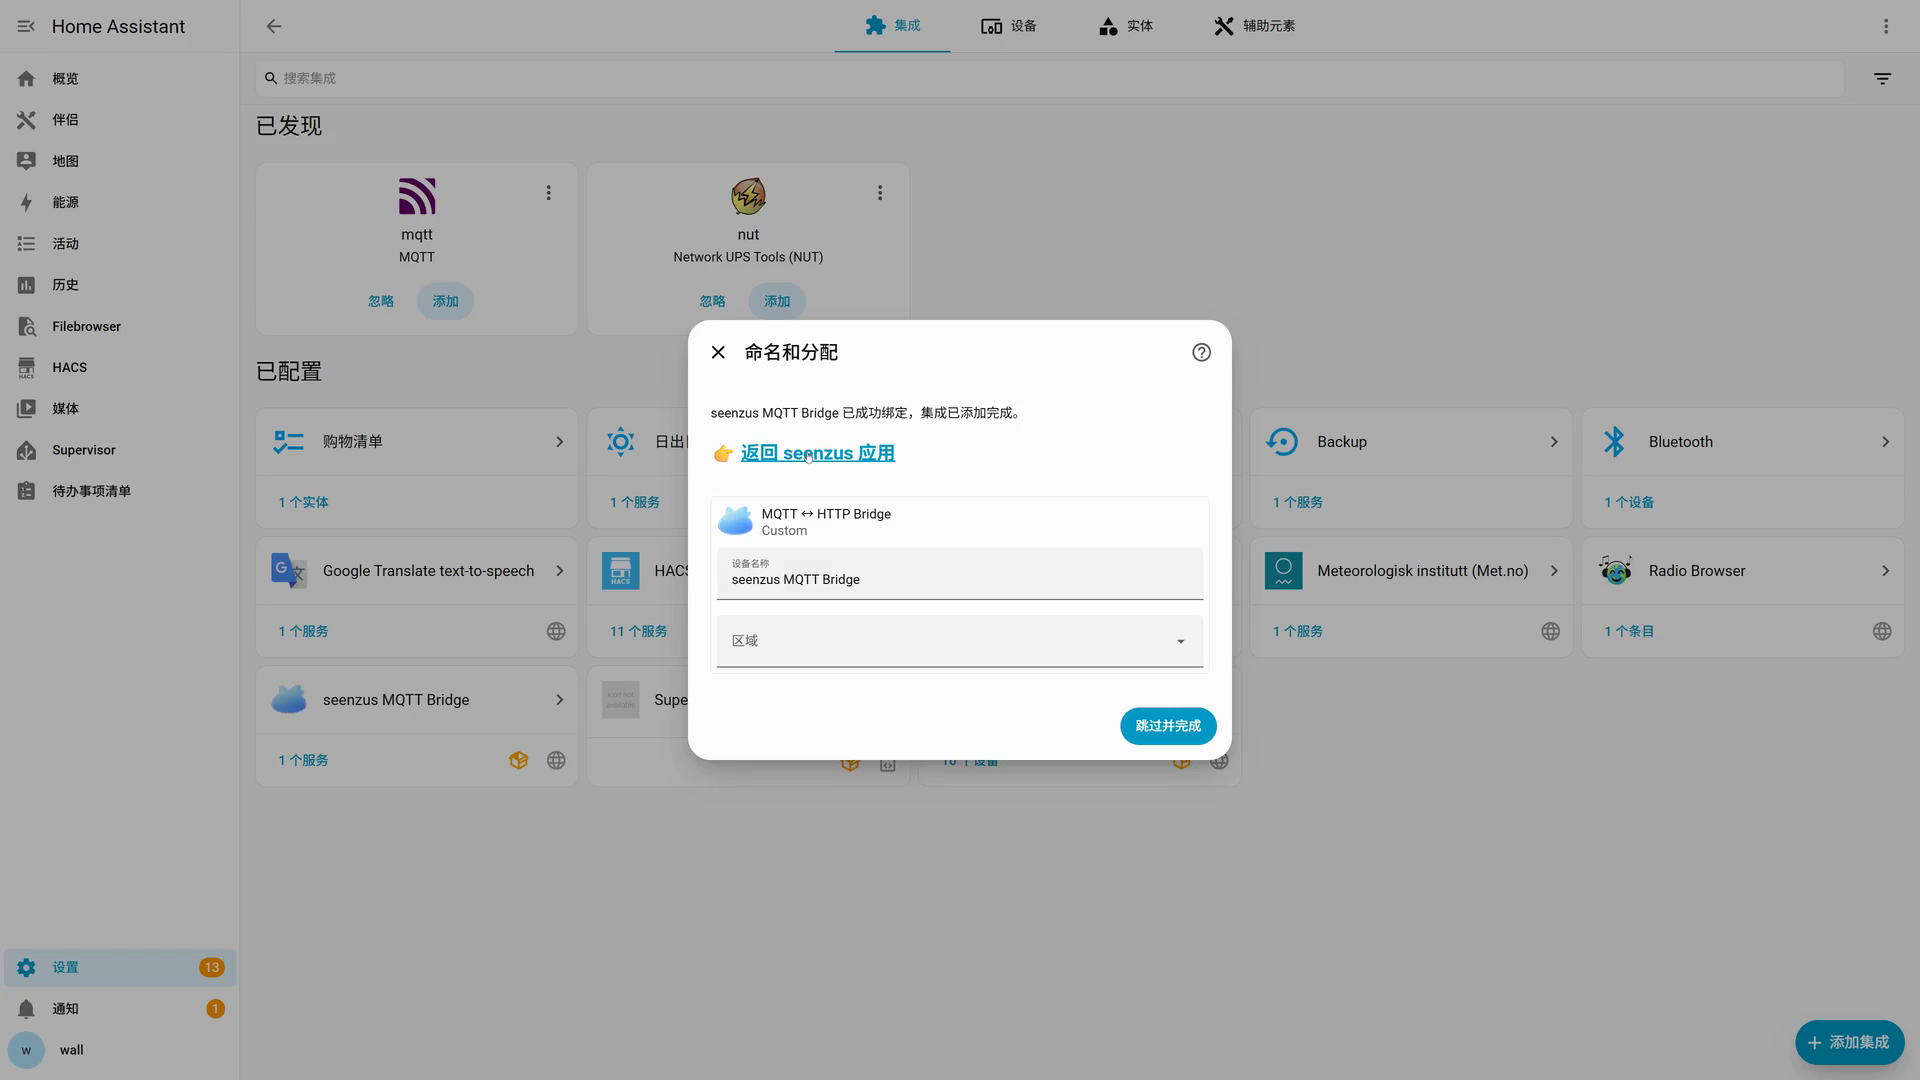
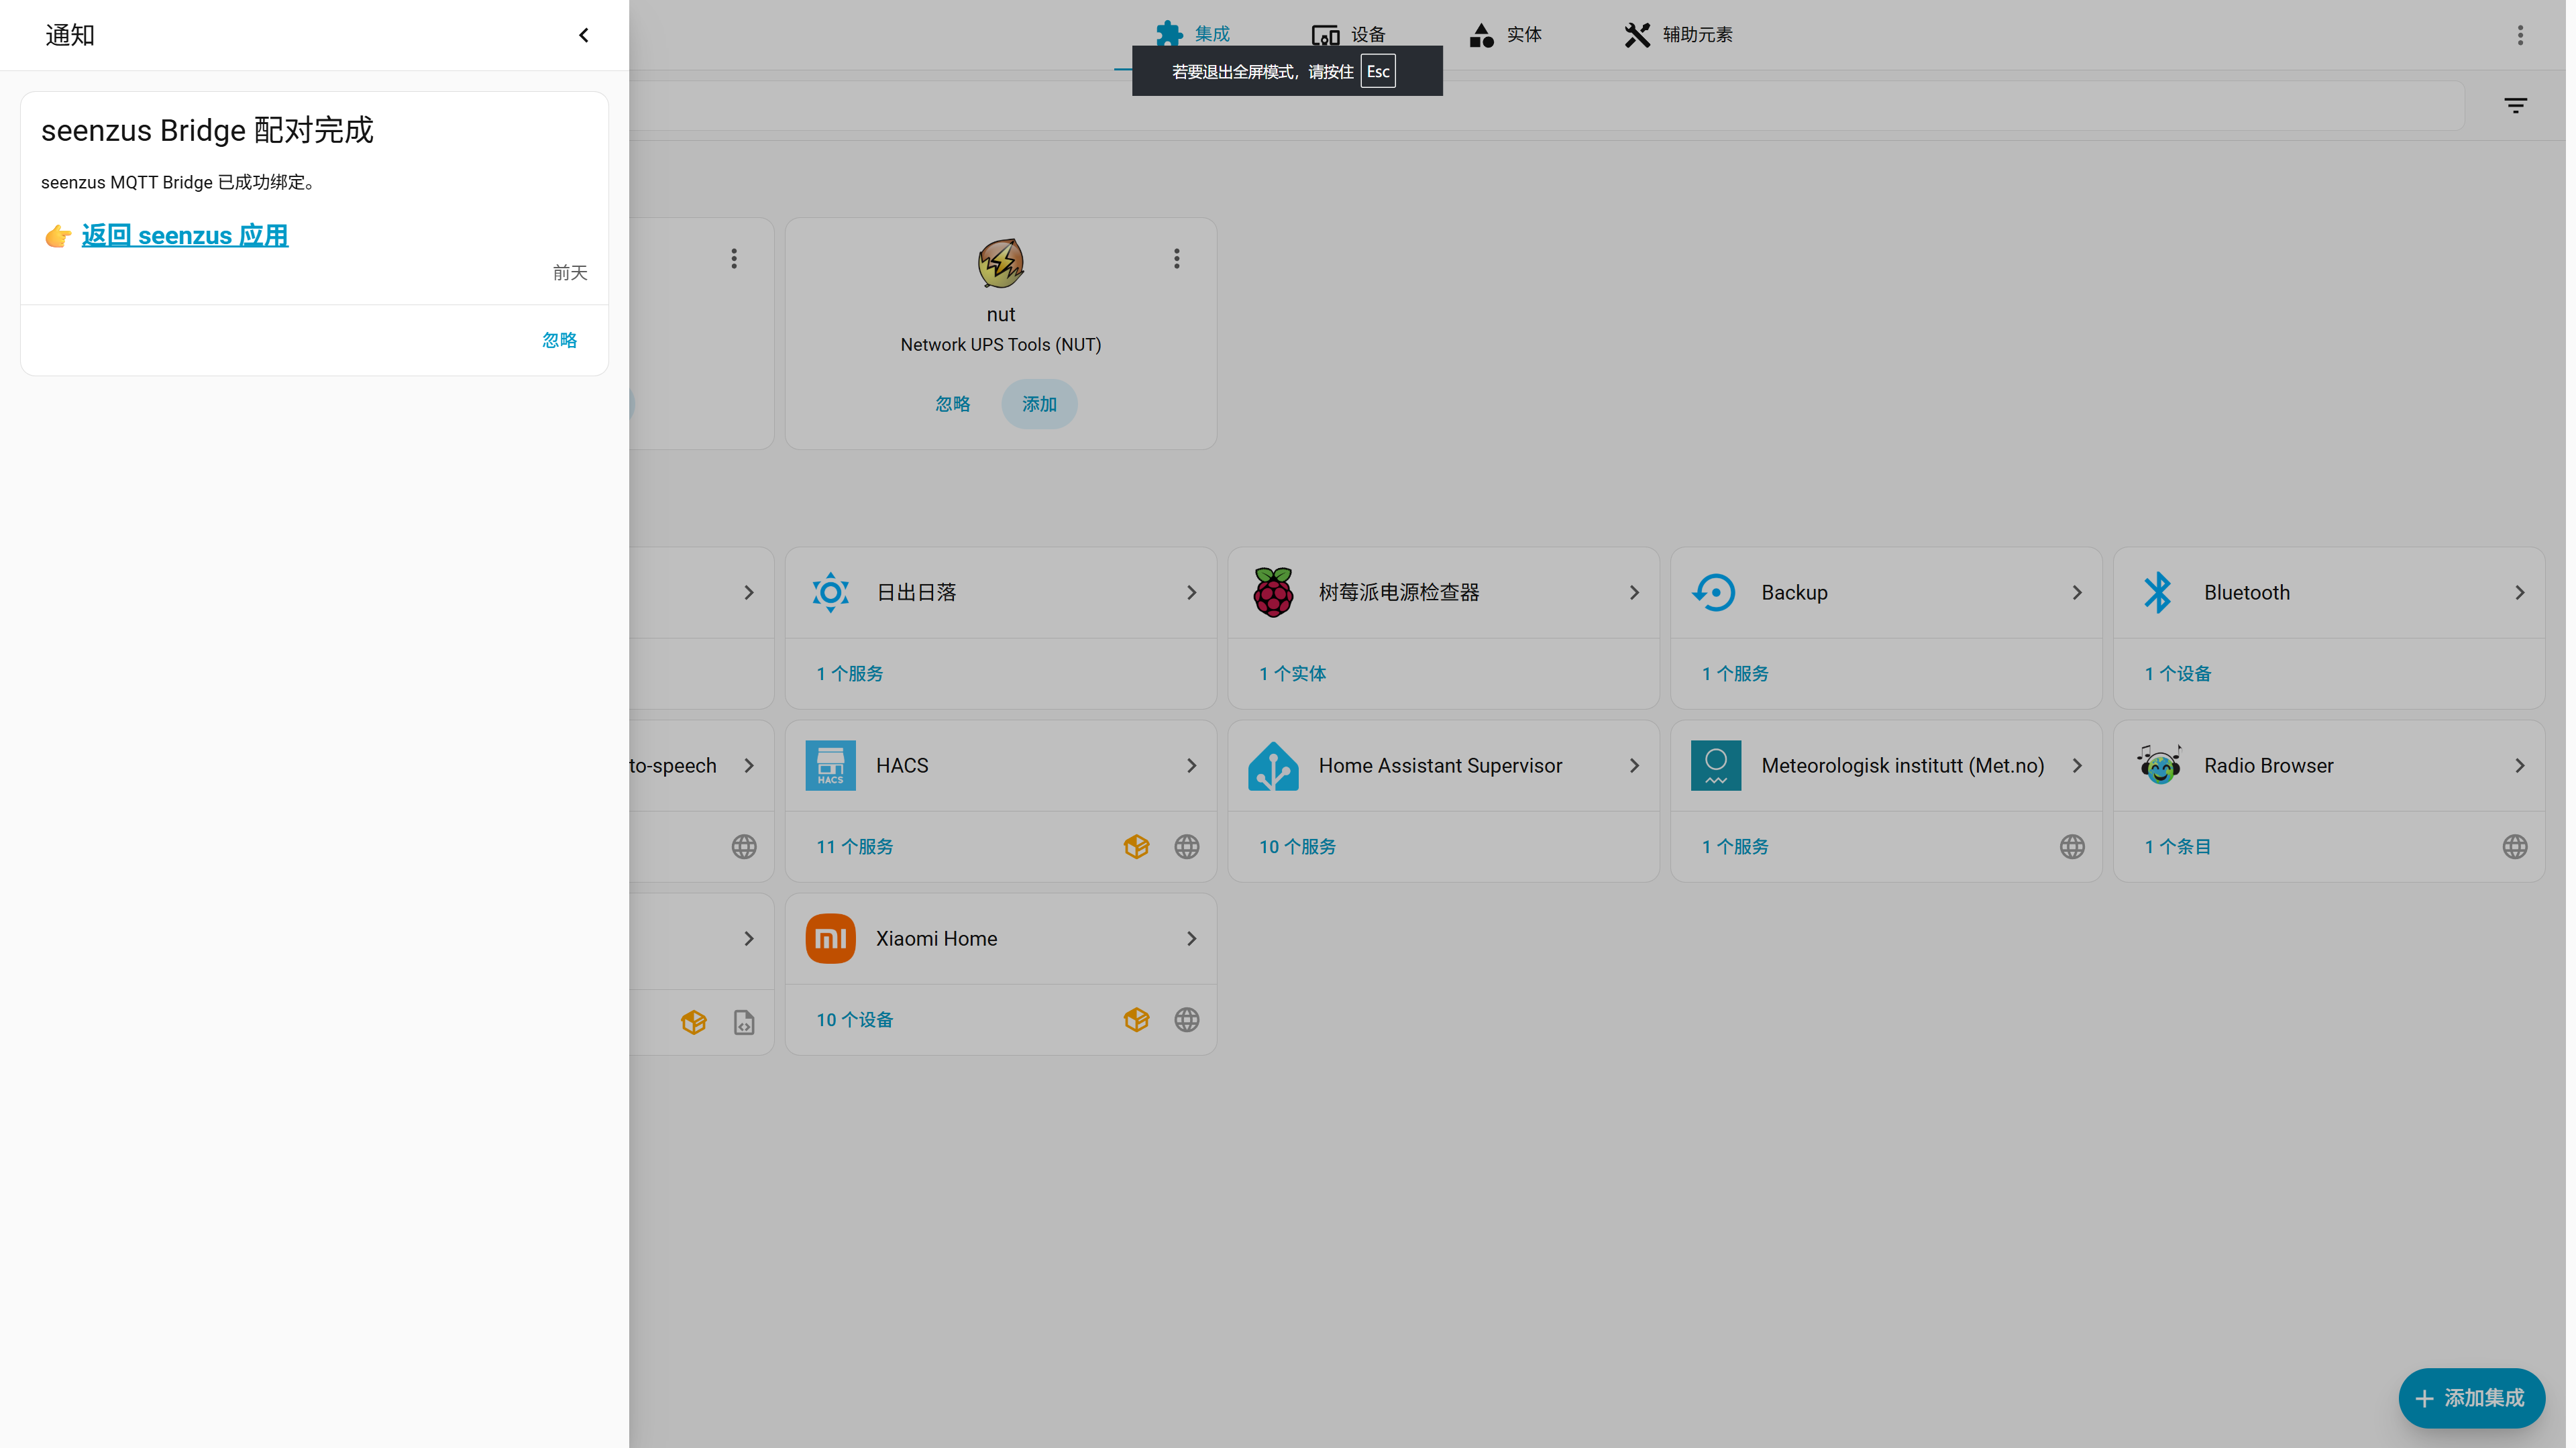
Later pairings, or if you selected Finish
Open Notifications in the Home Assistant sidebar → find the seenzus Bridge pairing-complete notification → select Return to seenzus app
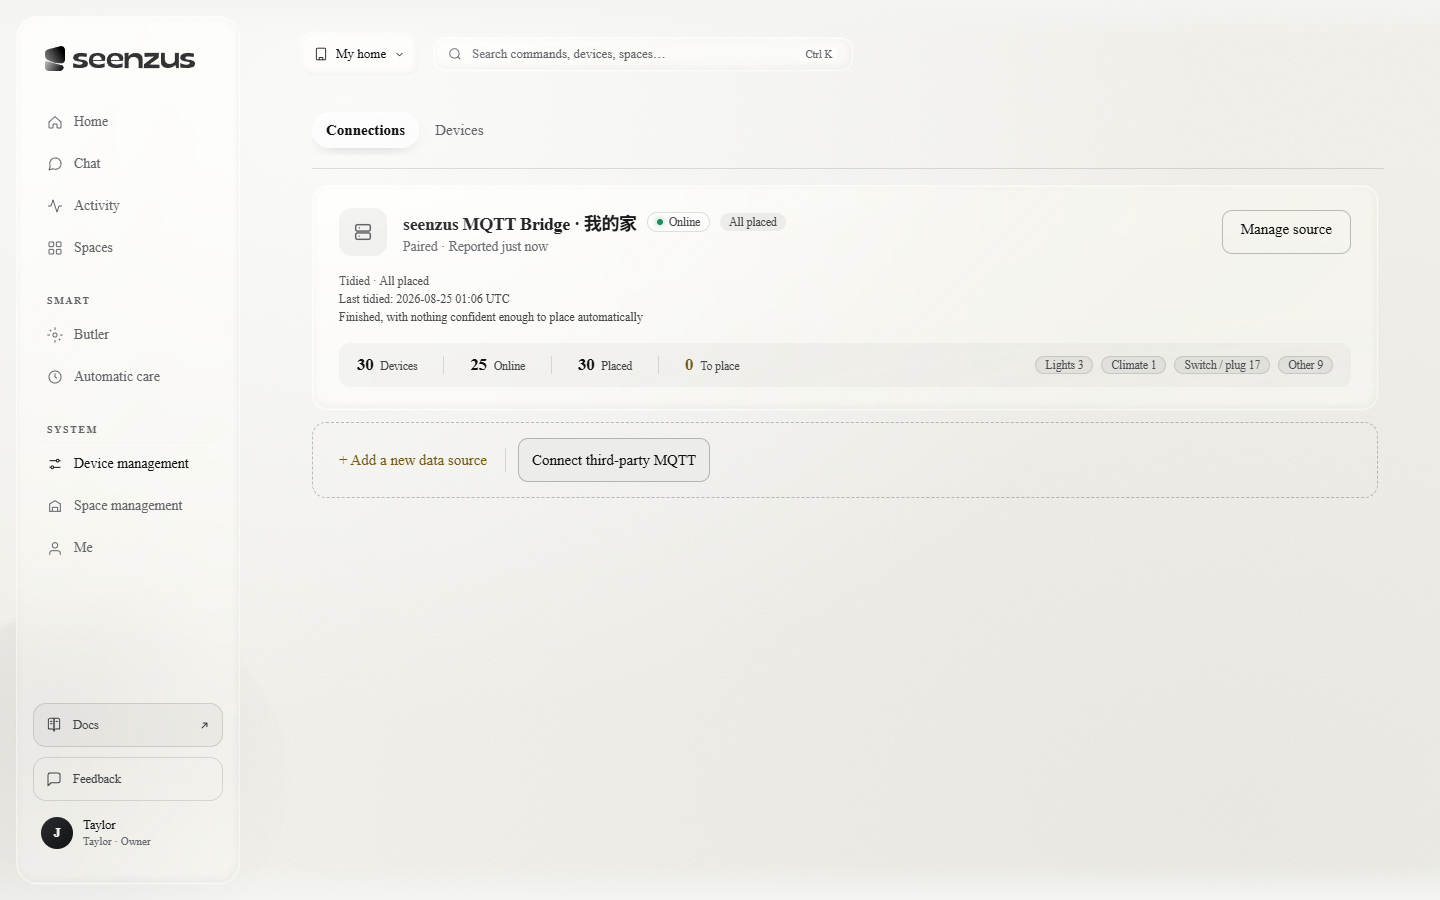
Open the matching Source
Integrations → open the Home Assistant Source you just created → review the synced devices
If the one-click URL fails, see other Bridge installation methods. For expired sessions or return-link problems, see Quick Pair troubleshooting.